
Home / Services / Transponder Programming
Transponder programming
Transponder Programming: Testing Every Function Before and After
Programming a transponder chip is only half of the job. The other half is proving that the key, the remote and the vehicle all behave correctly, before the work starts and again when it ends.
What a transponder is, in plain terms
A transponder is a tiny electronic chip sealed inside the head of a car key. It has no battery in most designs. When the key comes near the ignition, a coil around the lock sends out a small burst of energy. That burst wakes the chip, and the chip replies with a short code. The vehicle's computer compares the code with the ones it has stored. A match lets the engine run. No match, and the engine is kept from starting.
The idea behind it is simple. A thief who copies only the metal blade gets a key that turns the lock but does not start the car. That is the entire purpose of the chip. The shape of the key opens the mechanism. The code in the chip proves the key belongs to this vehicle.
Programming is the step that teaches the vehicle a new code. A blank chip is cut loose from any vehicle. The locksmith, using programming equipment connected to the car, writes or registers the chip so that the vehicle recognizes it. Without that step, a new key is just a piece of plastic and metal.
This page explains how that process goes and, as a special focus, how to test your keys before replacement and after it.
Why testing comes first, before any new key is made
It is tempting to jump to the new key. It is wiser to test the old one first. A pre check tells you what works today, and it tells the locksmith what is already wrong.
Suppose your remaining key sometimes fails to start the car. Is the chip worn, or is the vehicle's reader weak? If a new key is programmed into a vehicle with a faulty reader, the new key will fail in the same way, and you will blame the new key. A pre check separates a key problem from a vehicle problem before money and effort are spent.
Testing also gives you a record. You can say, with confidence, that the lock button worked, the trunk release worked and the engine started on the old key. After the visit, you can show that every one of those still works. If something is missing, you know whether it was lost during the visit or was already broken.
Our companion page on vehicle key replacement covers the cutting and ownership side. Here the focus is the electronic side.
A pre check you can run before the locksmith arrives
You do not need tools. You need ten minutes and the vehicle. Work through the list in order and write down anything that behaves oddly.
Start with the key you still have. Insert it, turn it to the on position without starting, and watch the dashboard. Many vehicles show a security or key light that glows briefly and then goes out. Note whether it goes out. A light that stays on or flashes can mean the vehicle is not accepting the chip. Then start the engine, let it run, switch it off, and start it again. Do this twice. A key that starts once and fails the second time is a key on its way out.
Next, test the remote. Press lock, unlock, trunk release and panic, one at a time, and watch the vehicle respond. If a button needs a firm press or a second try, the battery or the button contacts may be weak. Replace the battery if you can do so safely, and test again. A weak battery is a common reason a remote seems dead.
Finally, look at the key physically. Cracks in the head, a loose blade, or a case that rattles all matter. A damaged head can hide a damaged chip.
- Turn the key to on and note whether the security light goes out.
- Start, stop and restart the engine at least twice.
- Press every remote button and note which ones respond.
- Try a fresh battery in the remote before blaming the chip.
- Inspect the key head for cracks, looseness or a rattling case.
How programming is carried out
There are a few broad methods, and the right one depends on the vehicle. The locksmith decides, and you do not need to learn the technical detail. Understanding the outline helps you follow what is happening beside your car.
On many vehicles, a programming tool plugs into the diagnostic port under the dash. This is the same port a repair shop uses to read engine codes. The tool talks to the vehicle's computer, enters a security routine, and registers the new chip. Some vehicles also allow a procedure with the existing keys, where inserting keys in a set order teaches the vehicle a new one. Some require a separate step to synchronize the remote buttons with the vehicle receiver.
The key blade itself is cut on equipment carried in the service van. Cutting and programming are separate tasks, and both must be right. A perfect chip in a poorly cut blade will not turn the ignition. A perfect blade with an unprogrammed chip will not start the car.
The vehicle must be powered and stable during the process. A weak car battery can interrupt programming. If your battery is low, tell the locksmith. They may connect a power supply to hold voltage steady while the work goes on.
Chip keys, remote keys and smart keys are programmed differently
A basic transponder key has a chip and nothing else. It needs the chip registered. A remote head key has a chip and buttons, and it needs two things: the chip registered for starting, and the remote function paired for the buttons. These are separate systems that share a case. One can work while the other does not.
A smart key, or proximity fob, is more involved. It talks to the car wirelessly, with no ignition slot involved. It may need to be introduced to several modules in the vehicle, and it often has a hidden emergency blade for a dead battery. Our guide to smart key replacement in plain words explains this type. For vehicles started with a button, see push to start vehicles and lockouts.
Older vehicles from before chips were common use a plain key with no code. Our guide on keys for older vehicles from before transponder chips covers that group. No programming is needed there, only accurate cutting.
Ask the locksmith which of these your key is. If the answer is not clear from the key, the year, make and model usually settle it.
The function test after programming
When the equipment is unplugged, the second half of the job begins. This is the part many people skip, and it is the part that protects you.
Start the engine with the new key. Let it idle for a moment, then switch off and start again. Do it a third time after removing the key fully and waiting a few seconds. The aim is to prove the vehicle recognizes the chip every time, not just on the first attempt. Watch the security light each time.
Test the door locks with the blade, if the vehicle allows. Then test each remote button in turn. Lock, unlock, trunk or tailgate, panic, and any extra button such as remote start or a sliding door. Stand at a normal distance, then step farther away to check range. A remote that works only beside the car is a remote that will fail in a parking lot.
If the key is a smart key, test the proximity unlock by walking up to a door with the key in a pocket. Test the push button start with the key inside the cabin. Then test the emergency start, which usually means holding the fob against a marked spot on the dash or steering column.
Testing the spare and the old key
Every key that remains in circulation needs its own test. Programming one key can affect others. Depending on the vehicle and the method, the older keys may continue to work, or they may be cleared from memory. That is not an error. It is how some systems are designed to prevent a lost key from being used.
Before the locksmith leaves, try the old key in full. Start the engine. Press its remote buttons. If you intended for it to keep working and it does not, speak up while the equipment is still at hand. If you intended for an old, missing key to stop working, test that the other keys still work, and ask how the locksmith confirmed the lost key was removed.
If two or more new keys were made, test each one in the same way. Mark them if it helps, a small piece of tape or a note, and number them in your records.
Our guide on adding a spare or replacing every key explains when each choice makes sense.
What can go wrong, and what it usually means
Most programming jobs go smoothly. When they do not, the symptoms point to a cause.
If the engine cranks but does not start, the vehicle may not recognize the chip. The key may need to be re registered, or the vehicle may need a reset step. If the security light flashes and the engine dies after a second, the same cause is likely. If the remote works but the engine will not start, the remote and the chip were programmed separately and only one succeeded. If the engine starts but the remote does not work, the opposite is true.
A low key battery can mimic a failed remote. A weak car battery can interrupt programming. A damaged reader coil around the ignition can cause intermittent failures that appear to be a key problem. Each one is a reason the pre check matters.
When something fails, the locksmith should explain the cause and the next step. If a fix cannot be done at the roadside, say a damaged module, you should be told plainly. Honest answers matter more than a hopeful guess.
Dead batteries, lost power and the emergency start
Electronic keys depend on small batteries, and those batteries fail at awkward moments. A cold night in the mountain towns can shorten battery life. A key left in a hot vehicle through a valley summer can weaken too.
Know your emergency routes. Most remote keys still turn a lock with the blade, even when the buttons are dead. Many vehicles with chip keys still start with a dead remote battery, because the chip is passive and needs no battery. Smart keys usually have a fallback: hold the fob close to a marked area, often on the steering column or console, and press the start button. The vehicle reads the chip through close contact.
Our guide on key fob battery failure at night covers the steps in more detail. A dead key battery is not the same as a lost key, and in many cases no programming is needed at all. A battery swap and a function test may solve the whole problem.
If you are unsure whether the key is dead or the battery is flat, tell the dispatcher what you tried. It saves a visit that did not need to happen.
What we bring and where the work takes place
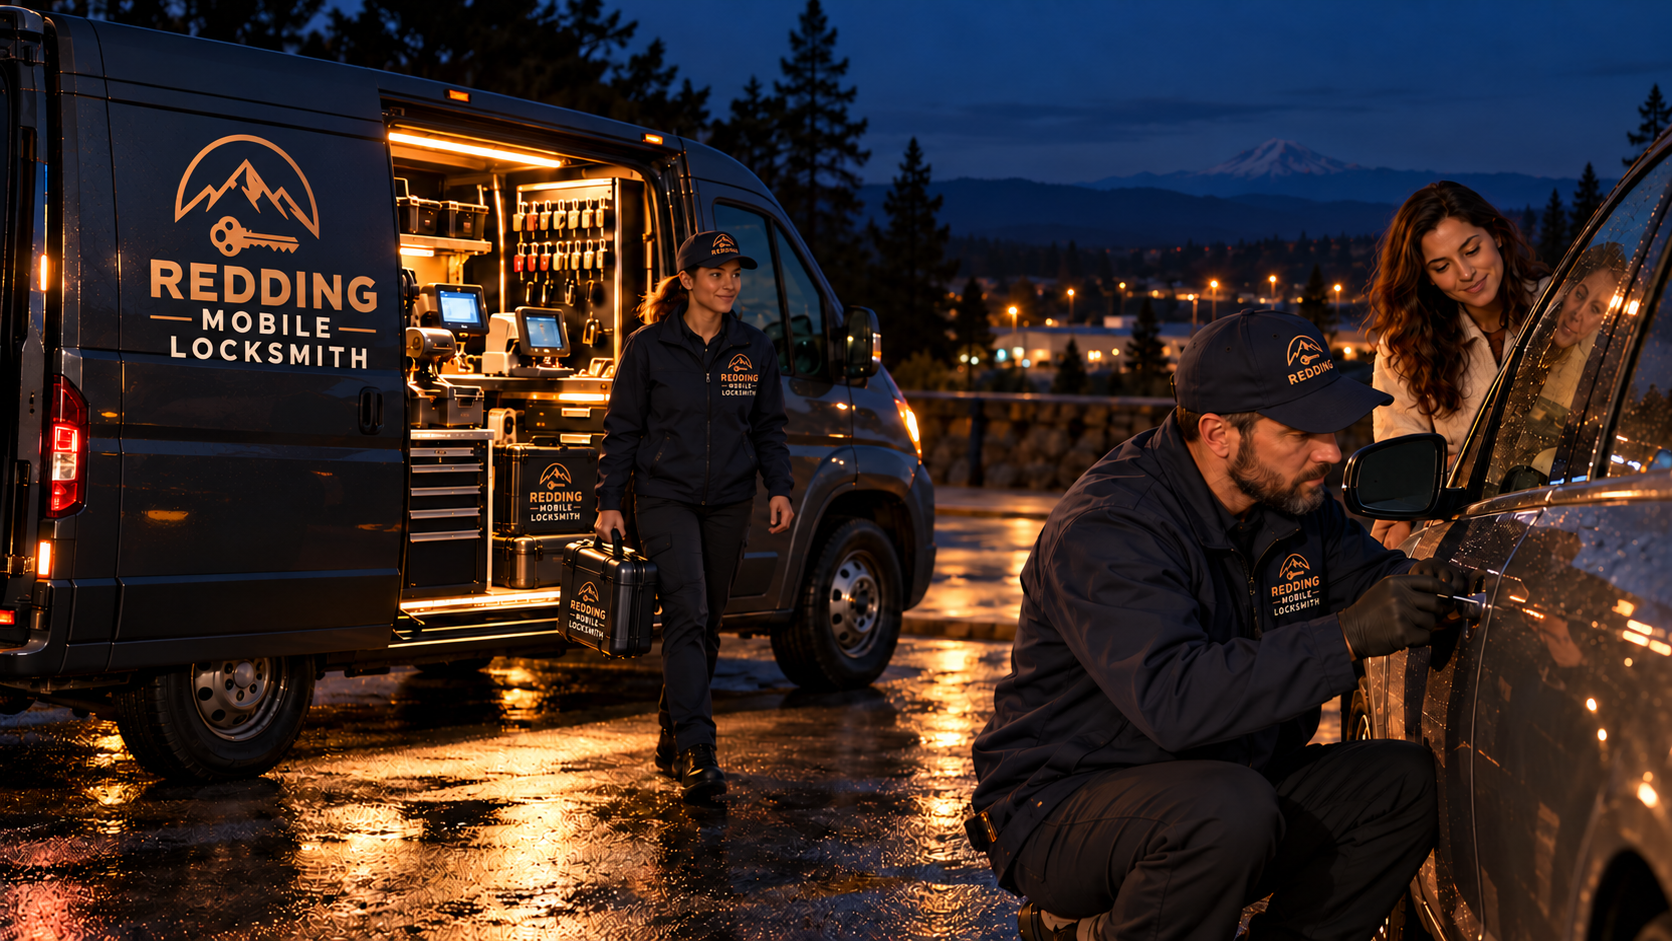
The team arrives in uniforms with a branded service van. It carries professional tools, key cutting and programming equipment, and common hardware. Programming happens in the vehicle, wherever it stands.
That includes driveways, apartment lots, farm yards and roadsides across Shasta County and Siskiyou County. We serve Redding, Anderson, Shasta Lake, Cottonwood, Palo Cedro, Millville, Lakehead and Sims, as well as Mount Shasta, Yreka, Dunsmuir, McCloud, Weed, Granada, Montague, Fort Jones and Etna. Our coverage pages show each community, and the vehicle locksmith page gives the broader view of automotive work.
For ownership and identification, expect to show registration or title and a matching photo identification. The vehicle must belong to you or you must have the owner's authority. This is the same rule that applies to every key we make. It keeps the process safe for all of us.
Local examples include vehicle key replacement in Anderson and vehicle key replacement in Weed.
How to request programming and what to include
The simplest route is the request form on our contact page. A phone line is coming soon, and no number is published now. Tell us the year, make and model, the key type if you know it, whether you have a working key, and where the vehicle is.
If you have run the pre check, include the results. Say that the remote works but the engine does not start, or that the security light stays on. Those notes are valuable. They point the locksmith toward the right equipment before the van leaves.
If the situation is urgent and at night, the after hours emergency service page describes how the night process works. If you are also locked out, the night car lockout page covers that first step.
Keep your own record of what was tested. A short note with the date, the keys made, and the functions confirmed is enough. If anything fails later, that note helps the next conversation go smoothly and clearly.
Common questions
What is the difference between cutting a key and programming it?
Cutting shapes the metal blade so it turns the lock. Programming registers the chip so the vehicle recognizes the key and allows the engine to run. A key needs both. A cut blade with an unprogrammed chip may open the door but will not start the car.
Why test my old key before a replacement?
A pre check shows what works now, such as starting, locking and the remote buttons. It separates a worn key from a vehicle problem and gives you a record to compare afterward. Without it, a new key can be blamed for a fault that was already there.
Which functions should be tested afterward?
Start the engine several times, test the blade in the locks, and press every remote button. Check range, trunk or tailgate release and panic. For smart keys, test proximity unlock, push button start and the emergency start. Test the spare and any old keys you meant to keep.
Will programming a new key stop my old keys working?
It depends on the vehicle and the method. Some systems keep older keys active. Others clear old keys when new ones are learned, which protects you if a key was lost. Ask the locksmith before work begins so the result matches what you want.
My remote does not work but the car starts. Is the chip bad?
Not necessarily. The remote and the chip are separate systems. A flat key battery is the most common cause of a dead remote, and the chip needs no battery. Try a fresh battery and test again. If it still fails, the remote may need pairing.
Can programming be done at my home or roadside?
For most vehicles, yes. The locksmith brings programming equipment and key cutting tools in a service van and works beside the vehicle. Some vehicles are more demanding and may need extra steps. Give the year, make and model when you request service so we can prepare.